I thought I would give a little post telling the process for making a lithophane nightlight.
First you choose a picture. Pictures generally need to have a few attributes to allow them to really shine. They need to be good pictures when cropped to square. They need to look good in black and white. They need to have a decent amount of contrast. They need to not have a lot of bright objects in the background.
If you have a picture you love, but has a bright background, we can probably use it with some photo editing tricks.
Anyway, step one, choose a picture. Our very first lithophane nightlight we ever printed was this one of our puppy dog Margo.
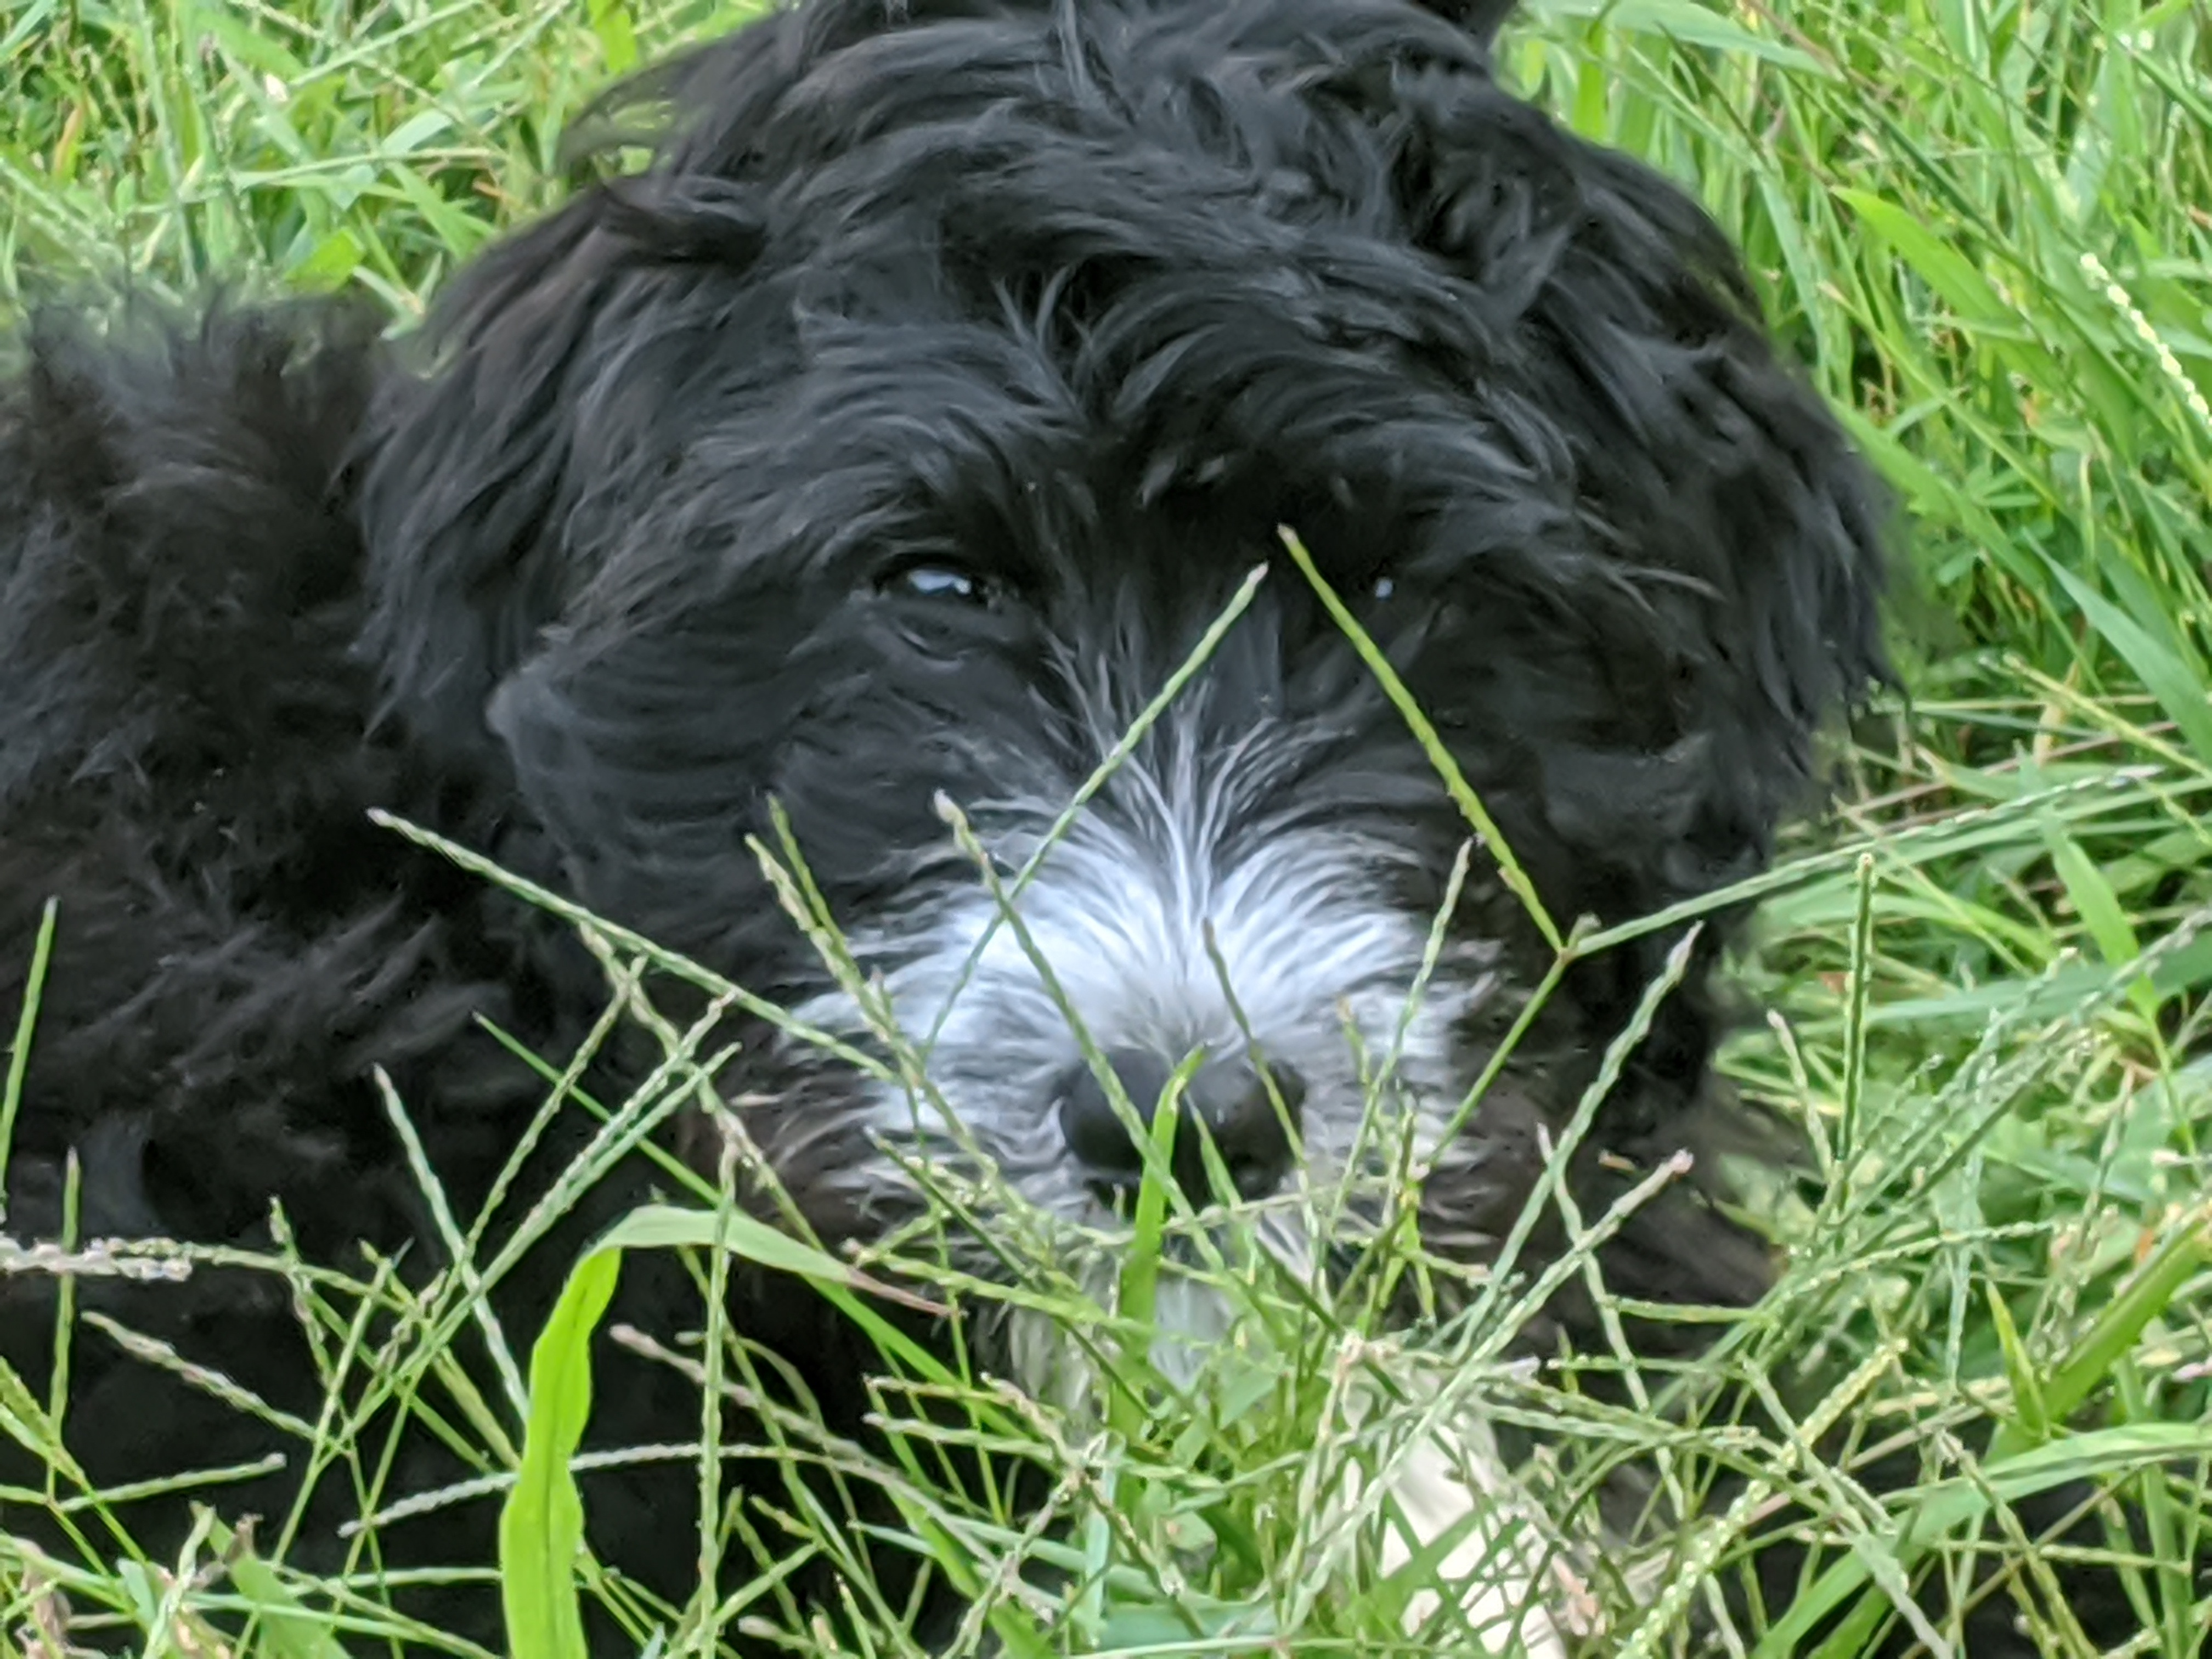
For whatever reason, this photo was already square. We converted it to black and white to get this.
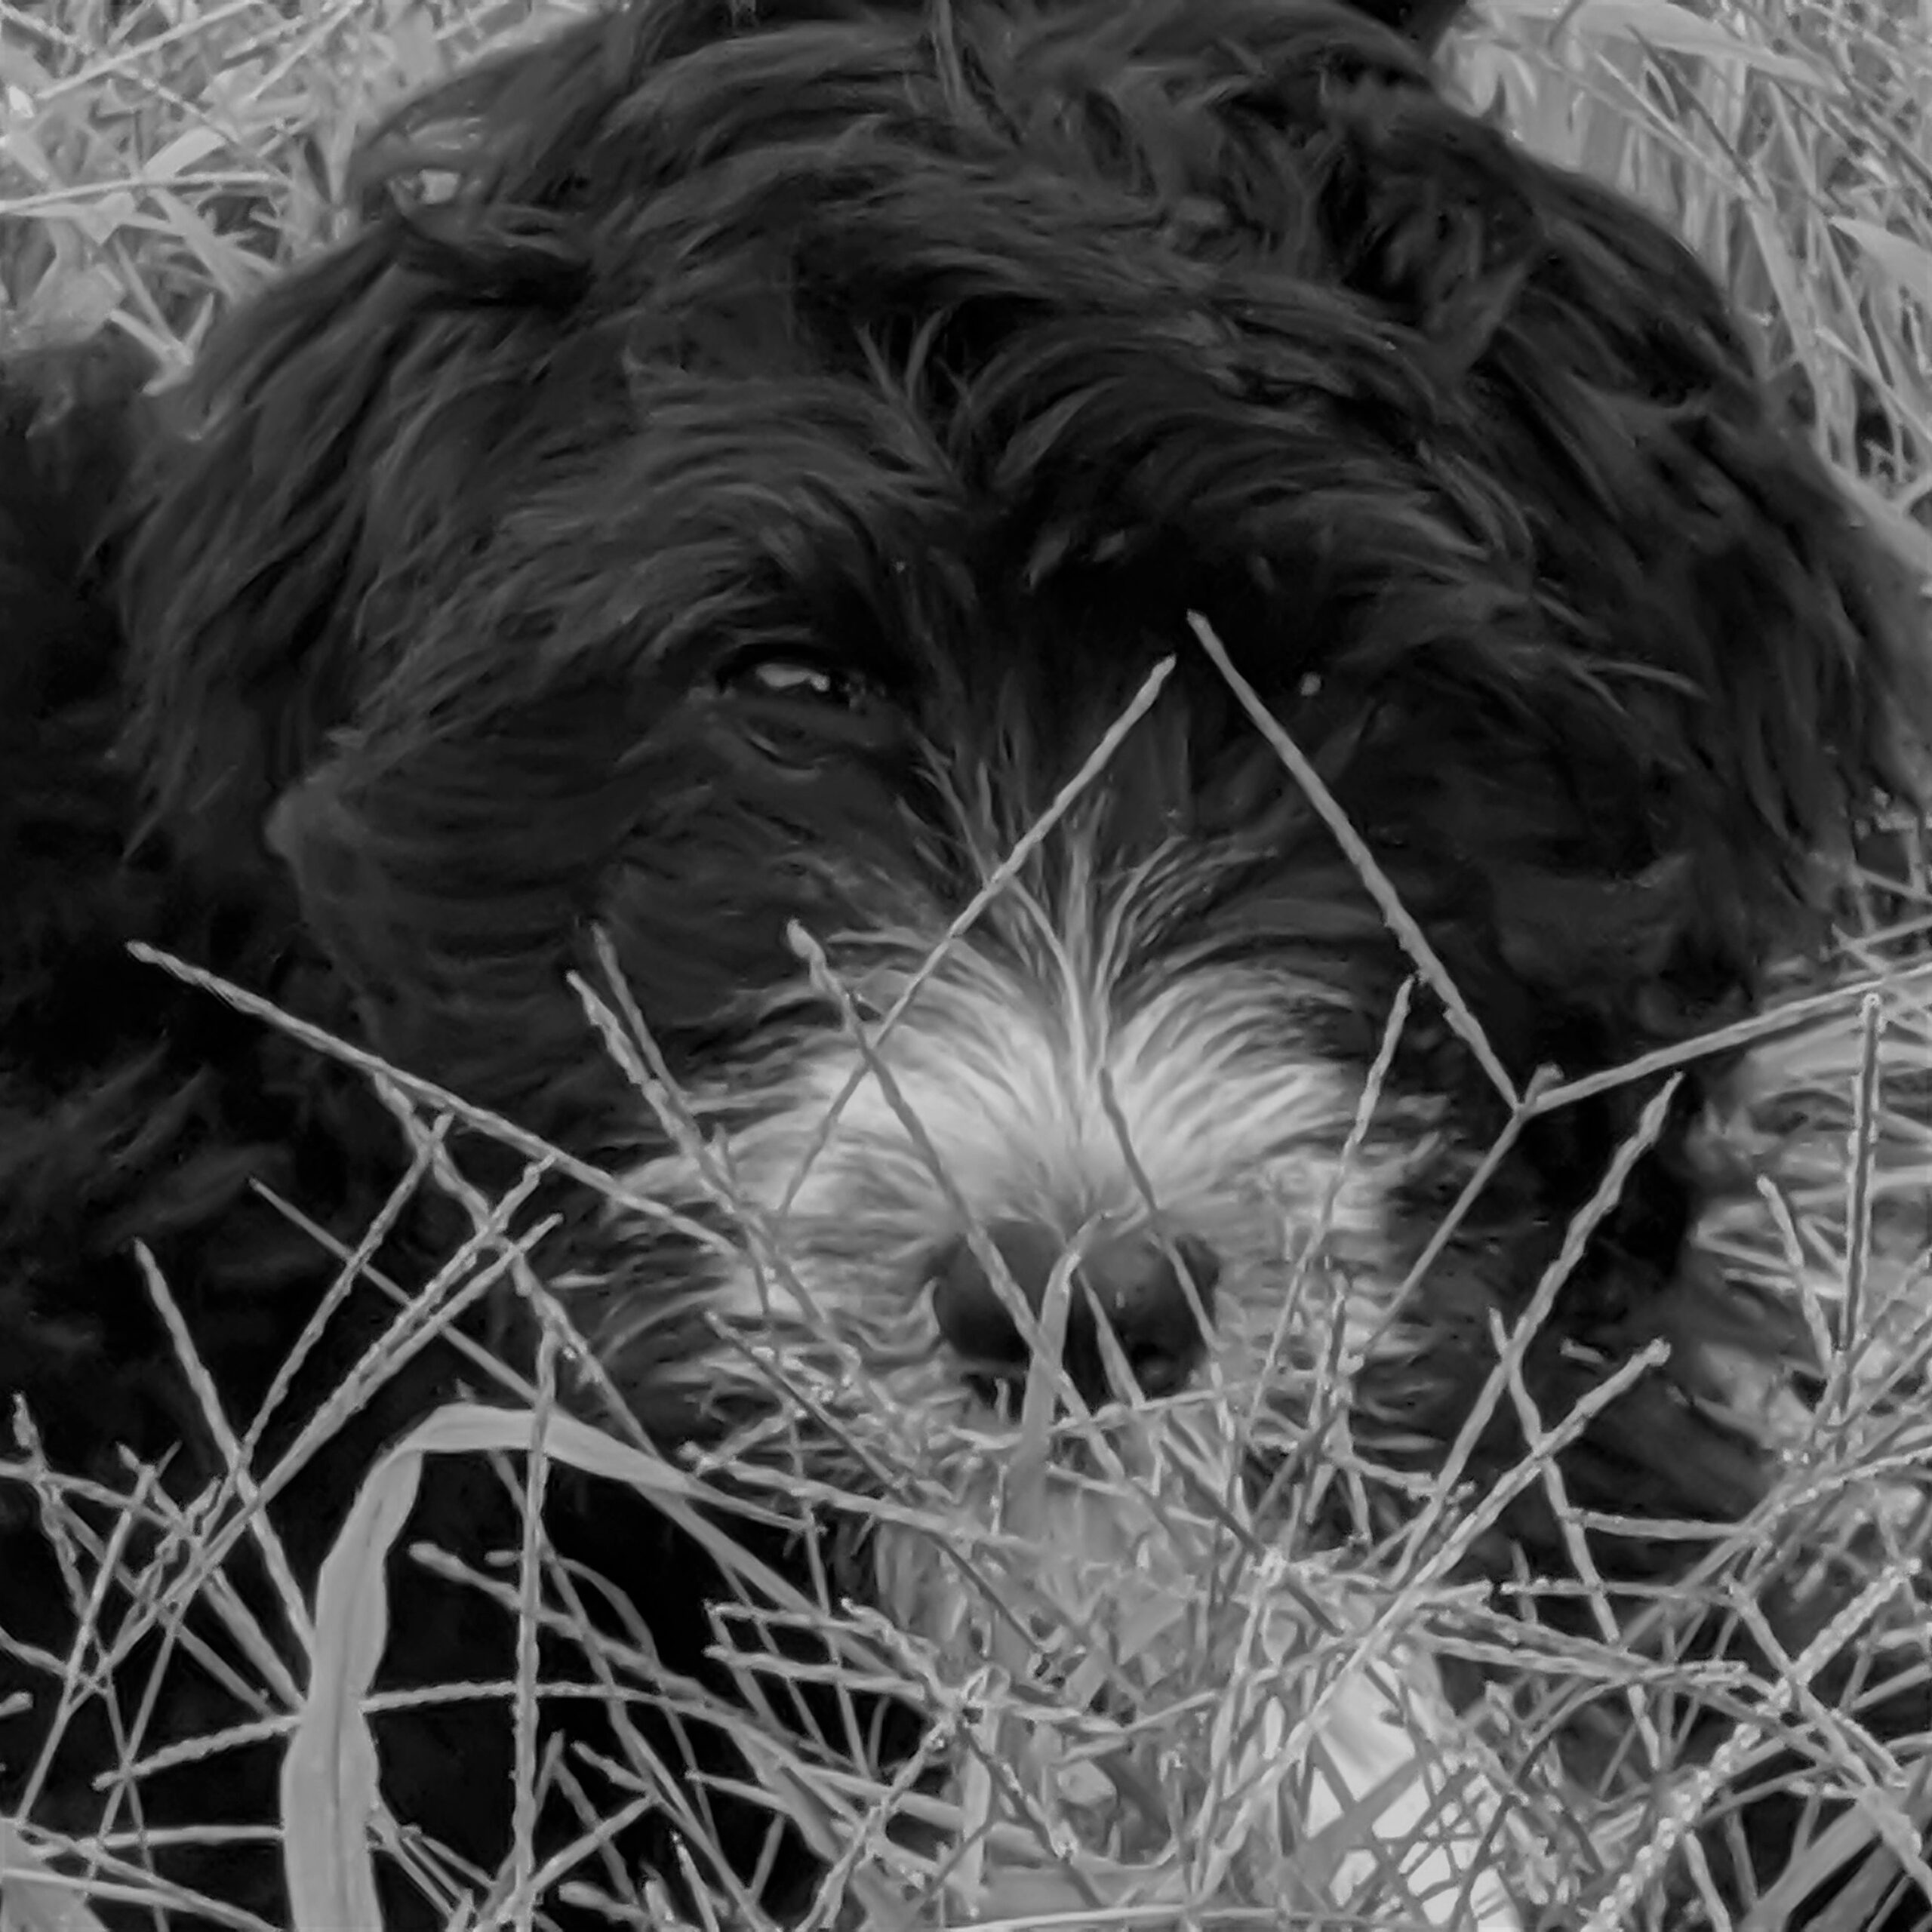
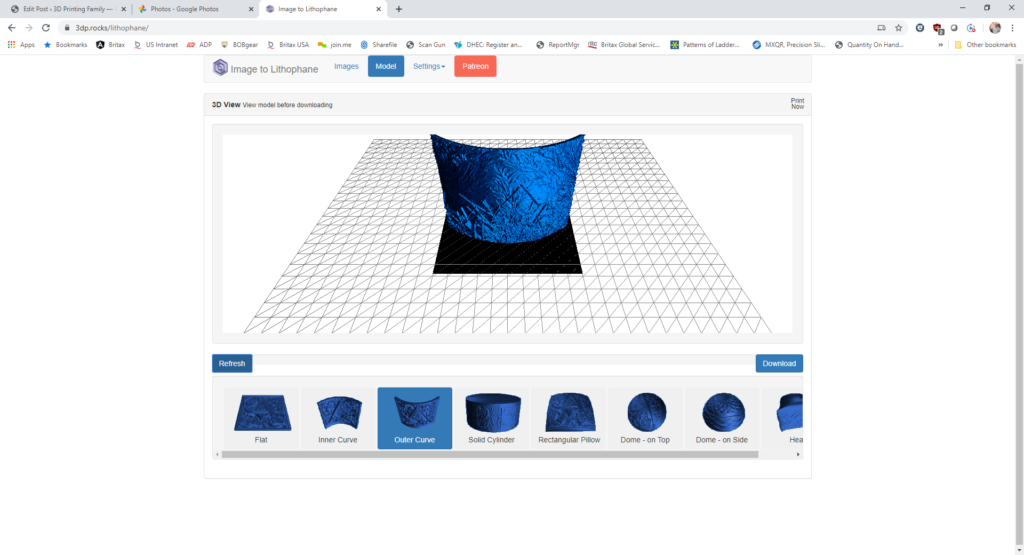
We made some minor adjustements to the levels and put it through software at https://3dp.rocks/lithophane/
We then add it to the stl file to make it into a nightlight. It comes out looking like this.
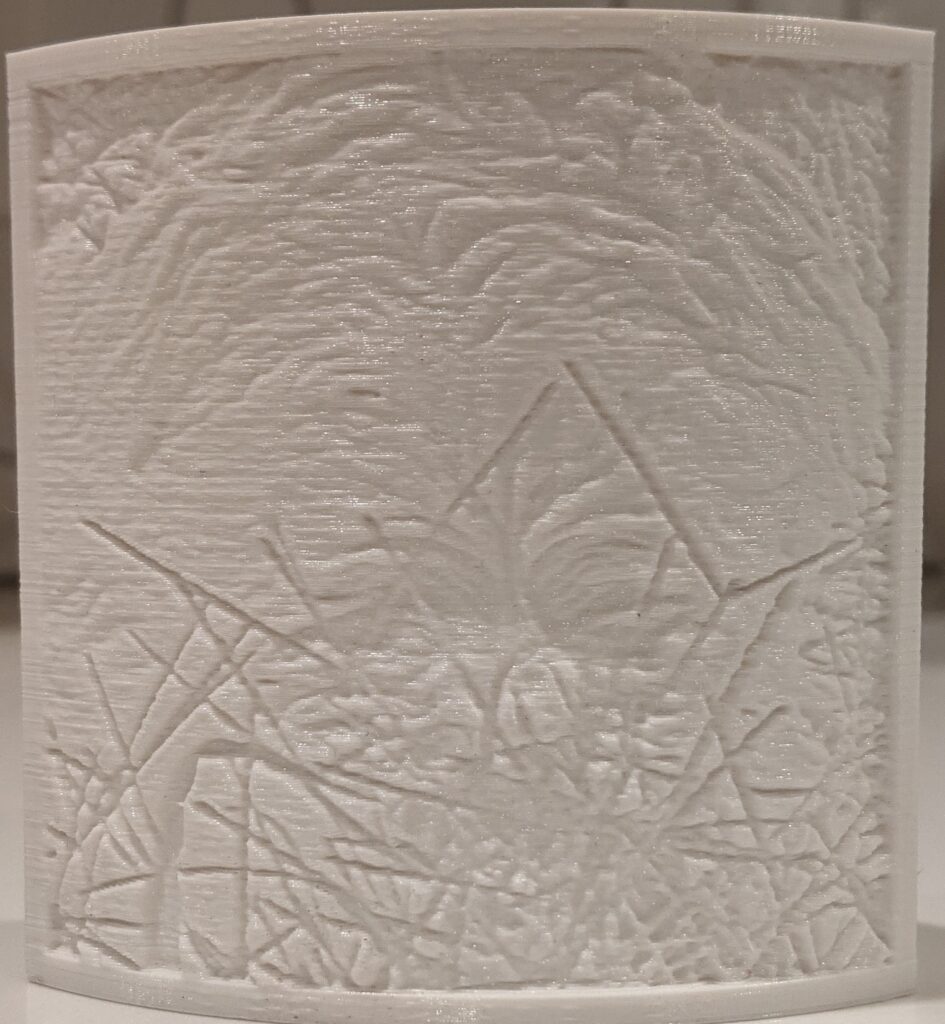
But when you back light it, the magic happens!
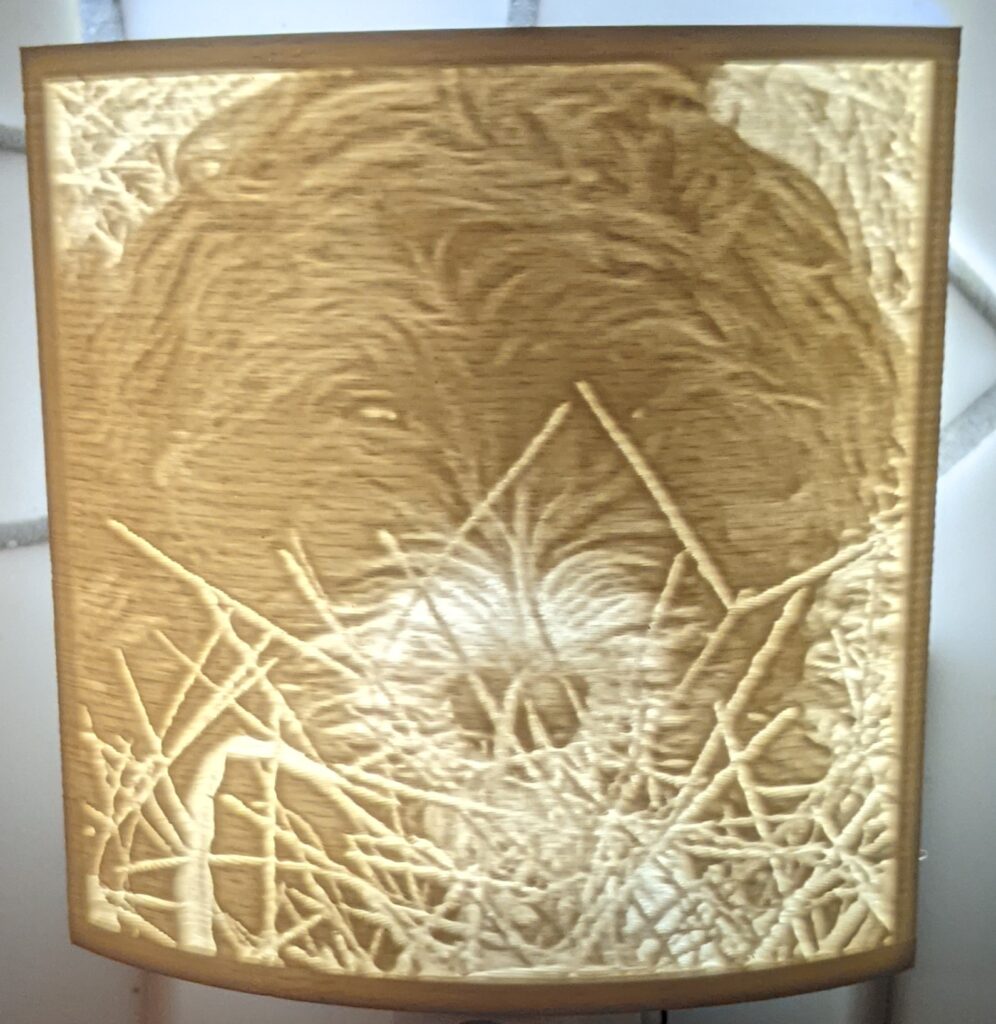
Bear in mind, this is the first one we ever did. We were hooked. We are much better at getting the lines to go away and making even better looking lithophanes now. Anyway, I hope this sheds some light on what we are doing!
